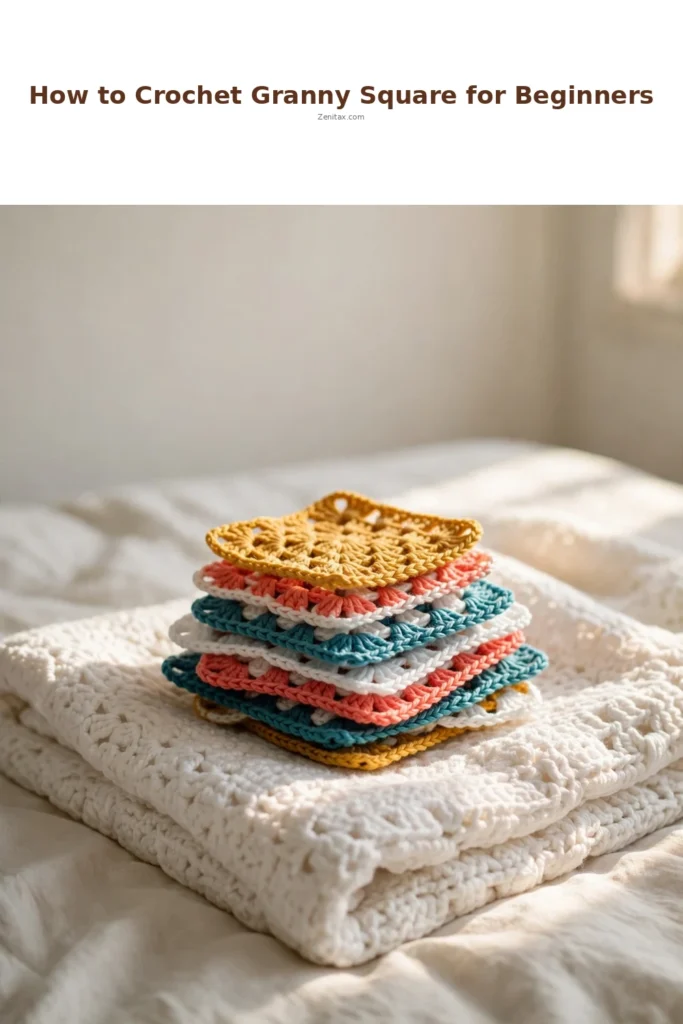
If you are new to crochet, the granny square is the perfect place to start. It teaches you rounds, corners, and color changes all in one small, satisfying project. Once mastered, you can turn a stack of squares into a blanket, cardigan, or anything in between. Here is a full step-by-step guide, along with the mistakes to watch out for as you go.
What Is a Granny Square?
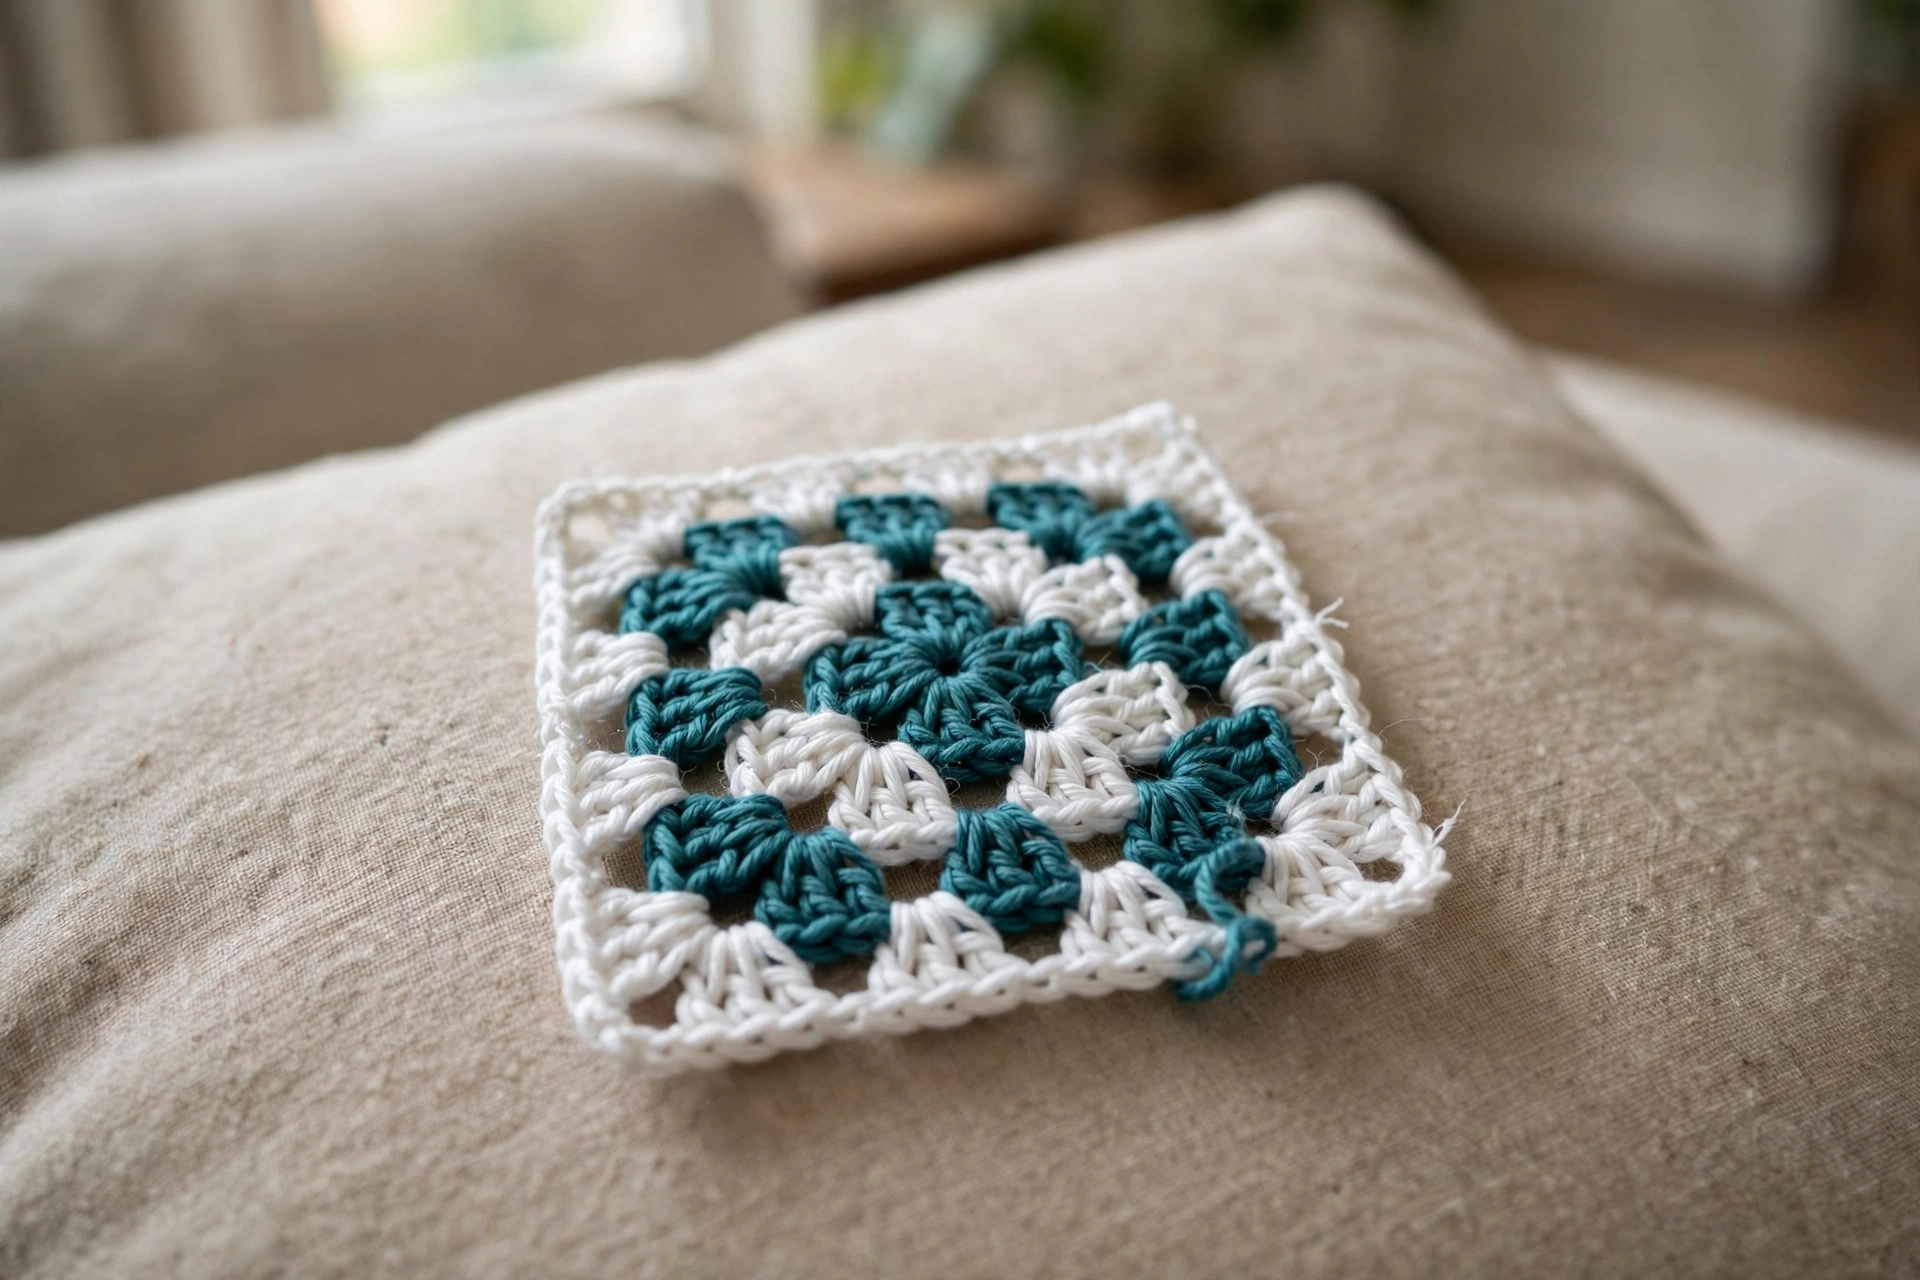
A granny square is created from small clusters of double crochet stitches, worked in rounds around a central ring rather than back and forth in rows. Each round adds a new layer around the outside, with chain spaces left open at the four corners. This is what gives the finished piece its square shape.
Granny squares are usually made with leftover yarn in different colors, and every round may or may not use a new color. Most modern patterns stick to just one or two colors to keep things consistent, but the construction works the same way either way.
What You Will Need
You will only need a few materials to begin, most of which are probably already in your crafting bag.
- Yarn: Any weight will do, but worsted weight (4) is the easiest to learn.
- Crochet Hook: A hook that corresponds to the weight of the yarn, most likely a size 5mm (H/8).
- Scissors: For cutting yarn in between colors and at the end of your project.
- Yarn Needle: To help you weave in all of those loose ends once you have finished your square.
- Stitch Marker (optional): For marking your first stitch if you have trouble keeping track of where you are in the round.
How to Crochet a Granny Square Step by Step
Step 1: Make a slip knot and chain 4, then join it into a ring with a slip stitch into the first chain. You can use a magic ring instead of a slip knot and chain if you prefer; it closes the center hole more tightly, which some crocheters find neater.
First Round
Step 2: Chain 3, then work 2 more double crochets into the ring. Chain 2 — this is your first corner. Now work 3 double crochets into the same ring again. Repeat “3 dc, ch 2, 3 dc” into the ring three more times, for 4 corner clusters total, evenly spaced around the ring. Close the round with a slip stitch into the top of your starting chain-3.
Second Round
Step 3: Slip stitch across to the nearest chain-2 corner space. Into that space, work: chain 3, 2 double crochets, chain 2, 3 double crochets. This rebuilds the corner and starts your second round. Chain 1, then work 3 double crochets into the next corner space to build your second corner. Repeat this “ch 1, 3 dc” pattern into each of the remaining two corners. When all four corners are complete, close the round with a slip stitch into the top of the starting chain-3.
Further Rounds
Step 4: Each round builds on the last: at every corner, work “3 dc, ch 2, 3 dc,” and along each side between corners, add one more group of 3 dc (separated by a chain-1 space) than the round before. So round 3 has two side groups per side, round 4 has three, and so on — the square grows by one side-group per round.
It is easy to lose track of which round you are on once you are several rounds in. A simple trick: count the side groups along any one edge. That number tells you exactly which round you just finished. When your square reaches the size you want, fasten off and weave in your ends.
How to Change Colors Between Rounds
Change colors on a granny square right at the join so the next round can start fresh in a new color. At the end of a round, work your stitches as usual until you reach the final slip stitch. Instead of pulling your working color through to complete that stitch, drop it and pull a loop of your new color through instead. Then chain 3 in the new color to begin the next round, just as you normally would.
Leave a short tail on both the old color and the new one as you switch; do not try to hide or weave them in as you go, since that can leave small holes in the corners. Just let both tails hang, then weave everything in once the square is finished.
Methods to Join Multiple Granny Squares
Once you have created a set of squares, there are several ways to join them together:
- Slip stitch join: Fast and easy, but leaves a ridge on one side of the work.
- Single crochet join: More squishy than a slip stitch join, but leaves a slightly visible seam.
- Whip stitch join: Sewn with a yarn needle, this join creates an almost invisible seam.
- Join-as-you-go: Instead of joining squares together after you finish making them, you join them to each other while working on the final round, avoiding a separate joining round altogether.
Regardless of the method you choose, remember to maintain a consistent gauge throughout the squares, because it can be challenging to match the squares when you join them.
Common Mistakes to Avoid
1. Missing Corners
A granny square always has four corners. The easiest mistake is adding an extra cluster to a side or skipping a corner cluster entirely. Count your clusters at the end of every round before starting the next one, so you catch a missing corner immediately instead of several rounds later.
2. Twisted Starting Chain
The easiest way to throw off the entire first round of your square is to accidentally twist your starting chain. Lay your starting chain out on the table to make sure it is not twisted before working any stitches into it.
3. Uneven Corners
This usually happens when the chain-2 corner space is not given enough room, or the three double crochets at a corner are not worked snugly into the same space. Make sure every corner cluster goes into the same space, not spread across neighboring stitches.
4. Forgetting to Ch-1 Between Side Clusters
Ch-1 spacers between side clusters are often missed, causing the square to pucker at the sides and look rounder. Always make sure your ch-1 spacers between side clusters are there. Since they are such a small part of the square, it is easy to forget them.
5. Squares Are Different Sizes
If your squares are turning out different sizes, it is not actually a counting error; it is a tension issue. If you can, always work squares in the same sitting. Tension is bound to be slightly off if you are working on multiple pieces at once.
Practice Tips for Beginners
Granny squares are probably one of the quickest ways to gain confidence in working with rounds and corners at the same time.
- Practice with scrap yarn first, since a slightly uneven early square will not matter once you know what a good one feels like.
- Try both a chain ring and a magic ring start to see which one you prefer.
- Make three or four small squares before starting anything bigger, like a blanket, so any bad habits show up early while they are easy to fix.
- Count your clusters at the end of every round. Once it starts to feel repetitive, that is exactly when small mistakes tend to sneak in.
What Can You Make With Granny Squares?
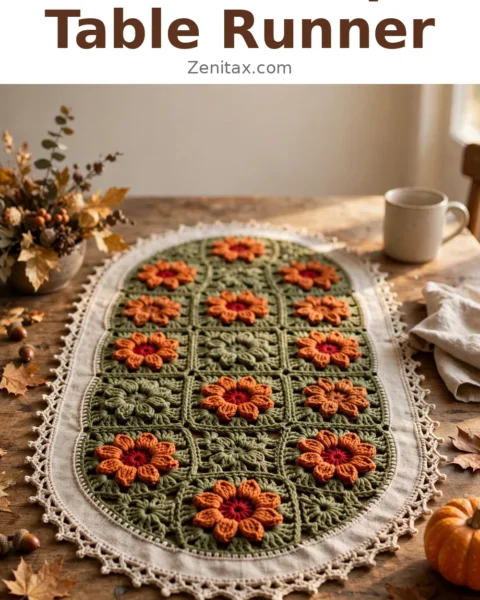
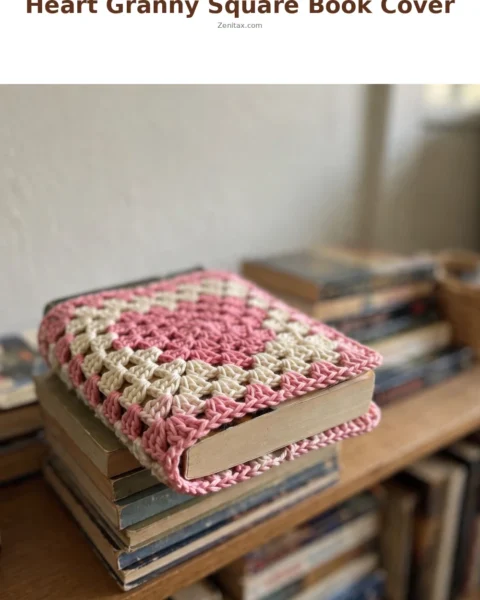
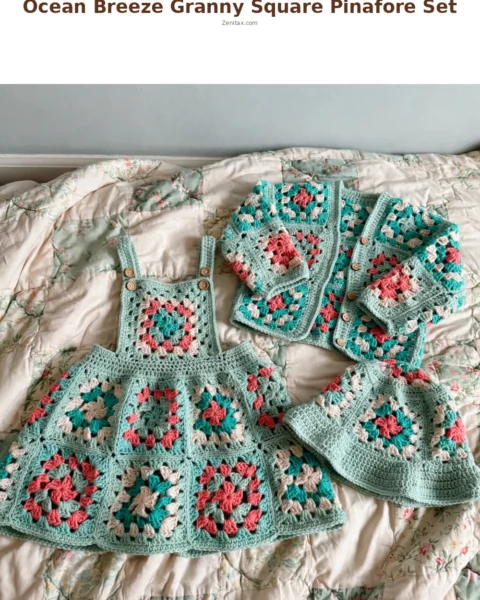
A single granny square is great for a cozy coaster or even as a patch pocket, but the real magic begins when you start connecting them. Blankets are the most common project that uses squares. You can also join them to make a tote bag, a cushion cover, a scarf, and even something as simple as a cardigan. They are a great way to use up leftover yarn, and because each square is small and portable, you can work on one anywhere without committing to an entire blanket in one go.
Final Thoughts
The granny square has survived the test of time because it is simple, portable, and endlessly customizable. Once you can make one without looking at the instructions, you will have a motif you can apply to nearly any crochet project.
If this tutorial helped you, save it to your Pinterest boards so you can find it again later. And please leave a comment if you finish your first square — I would love to hear which colors you chose!