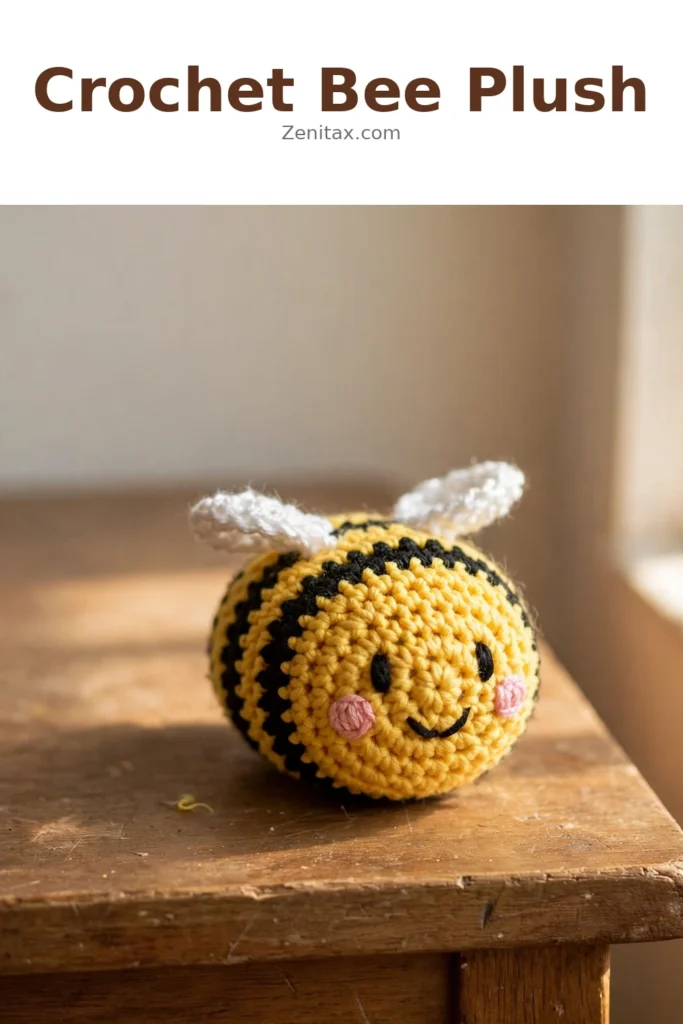
Some projects are just pure joy from the very first stitch. This crochet bee plush is one of them. It’s small, round, and irresistibly squeezable, and that cheerful little striped body with its tiny wings and sweet embroidered face will make you smile every single time you see it.
The plump striped body, the sweet embroidered face, and those darling little wings carry the kind of cheerful softness that feels equally at home on a nursery shelf, a desk, or tucked into a gift bag. Whether you are making it for a child, a friend, or simply for yourself, this little bee feels like a handmade treasure.
About This Crochet Pattern
The bee’s body is worked entirely in the round from the bottom up, growing stitch by stitch through a series of increases until it reaches its widest point, then decreasing back down to close. Color changes between yellow and black are made cleanly mid-round, and with a little practice the stripe transitions become one of the most satisfying parts of the whole process.
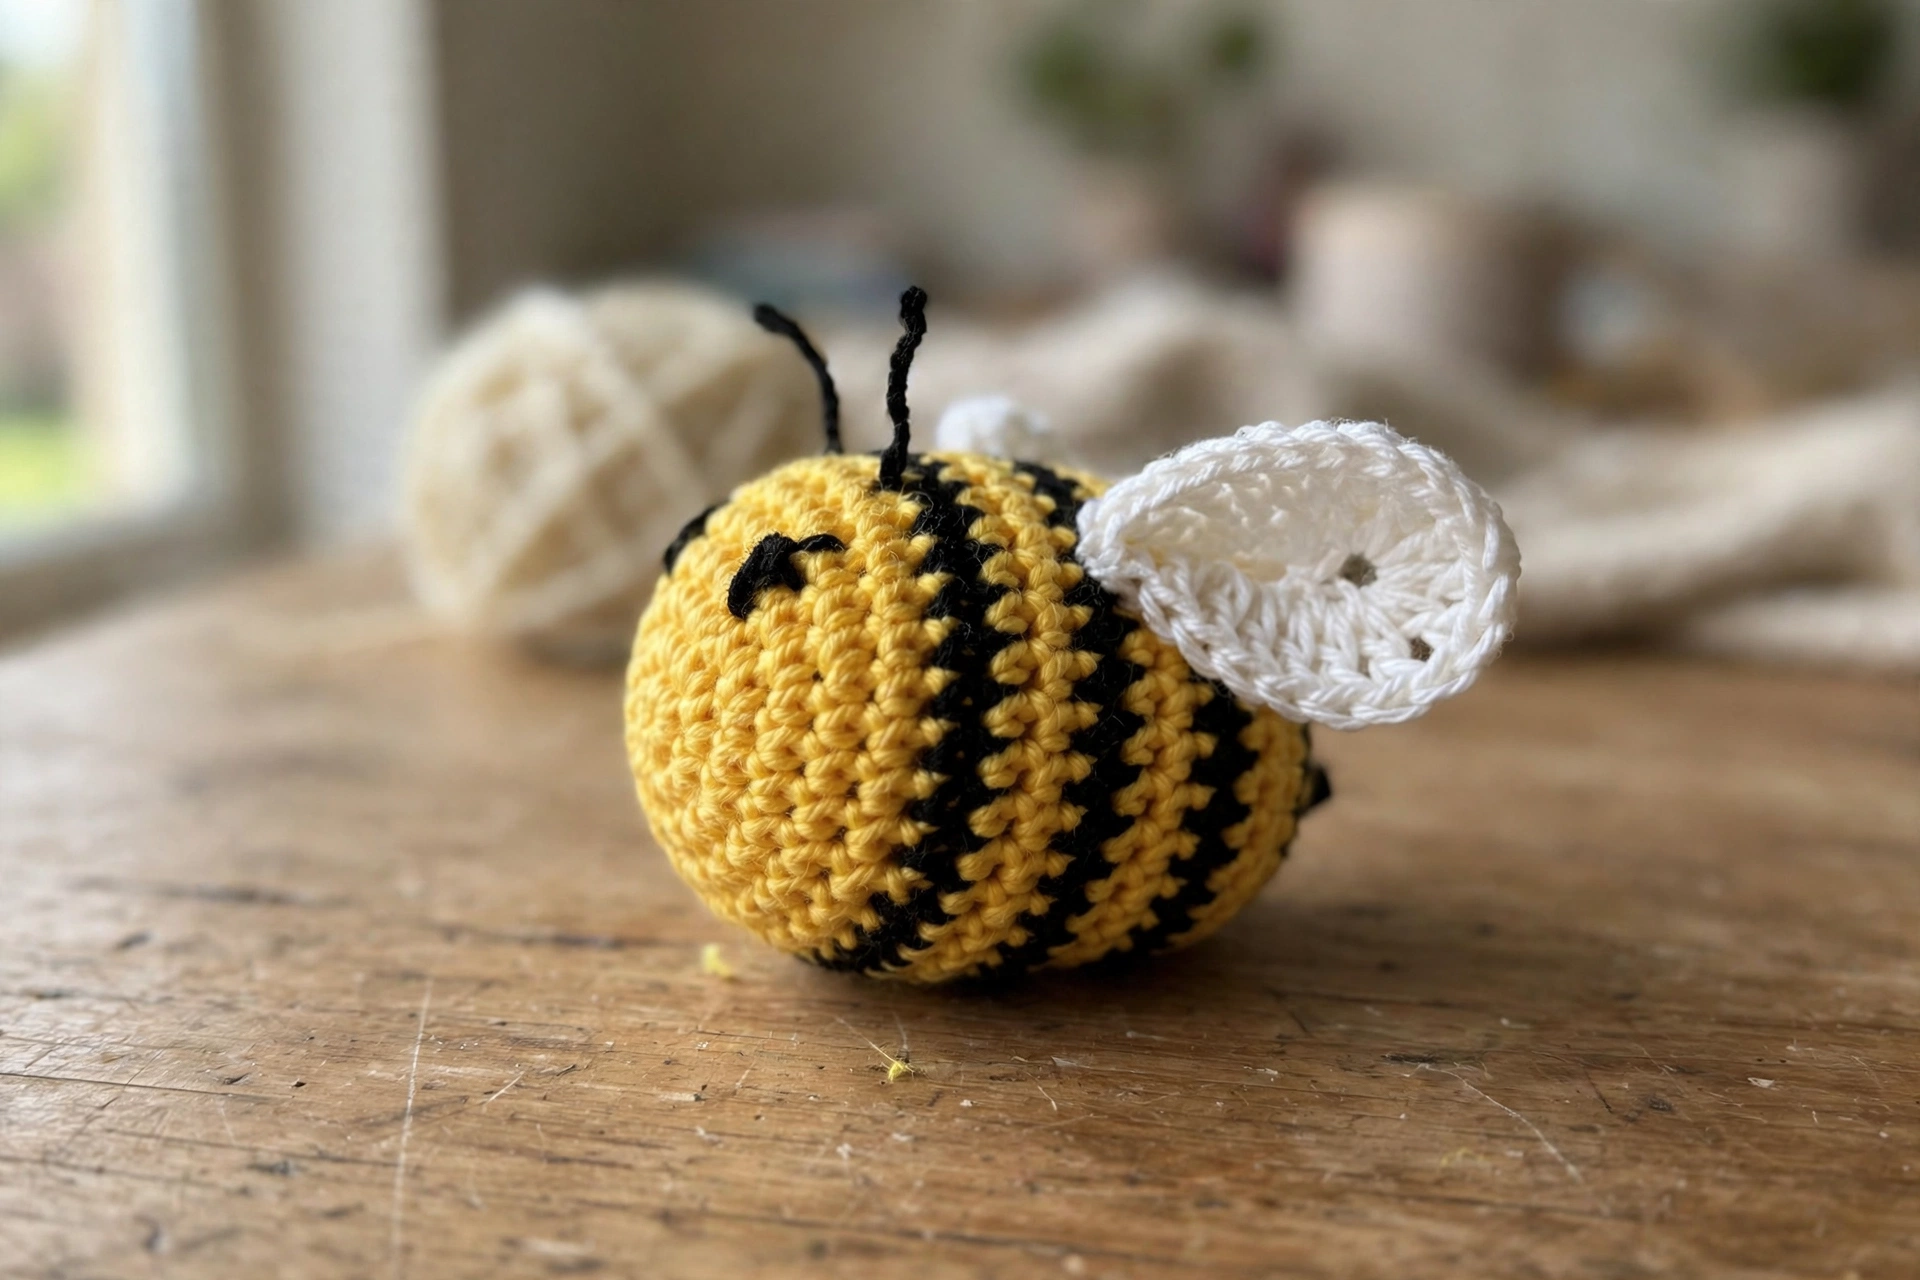
The wings are crocheted separately as small flat ovals and sewn on after assembly, along with the antennae, which are made with a length of black yarn and small bobbles at the tip.
Skill level: Beginner friendly. If you can work in the round and handle basic increases and decreases, you are ready for this bee.
Materials and Tools
For this crochet bee plush, a chunky or bulky weight yarn in yellow and black produces that wonderfully plush, huggable body, though a worsted weight will give you a slightly smaller and more refined result.
- Chunky or bulky weight yarn in bright yellow and deep black (worsted weight also works for a smaller bee)
- 5 mm or 6 mm crochet hook for chunky yarn, or a 4 mm hook for worsted weight — keep stitches tight enough to hold the fiberfill securely inside
- White or pale silver yarn for the wings
- Blunt-tipped yarn needle for sewing wings and antennae and weaving in ends
- Fiberfill stuffing
- Black yarn or embroidery thread for the face
Look for an acrylic or acrylic-blend yarn with a soft hand, as it is easy to care for, widely available in the right colors, and holds its shape after stuffing.
Color Variations
The classic palette is bright yellow and deep black, but soft butter cream paired with charcoal gives a more muted, vintage feel if you prefer something less bold. You could also experiment with lavender and dusty rose stripes for a whimsical, non-traditional bee. The small white wings add a lovely contrast, and keeping them in bright white or pale silver yarn makes them pop beautifully against any body color you choose.
Abbreviations and Stitch Definitions
This bee relies on a small and satisfying collection of stitches:
- MR (Magic Ring) — The foundation for nearly every amigurumi piece. The magic ring lets you begin crocheting in the round with a seamlessly closed center, which gives the bee’s body its smooth, rounded shape.
- SC (Single Crochet) — The primary stitch throughout the body, worked continuously in the round to build up those iconic yellow and black stripes with a firm, even texture.
- SC2tog (Single Crochet Two Together) — This decrease stitch pulls two loops together into one, used to shape the bee’s body as it tapers and closes, keeping the silhouette beautifully round.
- INC (Increase) — Working two SC into a single stitch, the increase expands the circumference of the body evenly and creates that satisfying, globe-like shape that makes the plush so huggable.
The meditative rhythm of continuous SC rounds is genuinely one of the most calming ways to spend an evening, and by the time you switch colors for each stripe, the repetition feels almost musical.
Construction
Body: Start with a magic ring in yellow. Work in continuous rounds of single crochet, increasing evenly to build the plump round shape. Stripe the body by switching between yellow and black every few rounds, changing color cleanly mid-round. Stuff the body firmly with fiberfill as you work the decreases, then close the top with a final round of decreases.
Wings (make 2): Work small flat ovals in white or pale silver. Sew both wings securely to the top of the body after assembly.
Antennae: Cut two short lengths of black yarn and attach small bobbles at the tips. Sew them to the head area between the wings.
Face: Embroider a sweet face with black yarn or embroidery thread — two simple eyes and a tiny smile give the bee its personality.
If you want to customize your bee plush, try scaling up your hook and yarn weight to make a truly oversized version.
Displaying Your Bee Plush
While this project is not something you wear, it is absolutely something you display with pride, and it looks wonderful perched on a bookshelf beside a stack of your favorite reads or hanging from a nursery mobile above a sleeping baby. It also makes an exceptional gift wrapped in tissue paper inside a simple kraft box, and the recipient always seems to light up the moment they see that cheerful little face.
Keeping Your Bee Plush Soft and Fresh
Because most versions of this plush are made with acrylic yarn, gentle hand washing in cool water with a mild soap is the safest way to clean it without distorting the shape. Press the excess water out softly with a clean towel rather than wringing, then reshape the body by hand and leave it to air dry on a flat surface. Avoid placing it in direct sunlight for extended periods, as prolonged exposure can fade the bright yellow and black yarn over time. If you are storing multiple plushies, a breathable cotton bag or an open basket keeps them dust-free while letting them stay on display where they can be admired.
Final Thoughts
Every crochet bee plush you make carries a little piece of the time, care, and warmth you put into it, and that is something no shop-bought toy can replicate.
Happy hooking!