Why You’ll Want to Make These Mini Halloween Hats
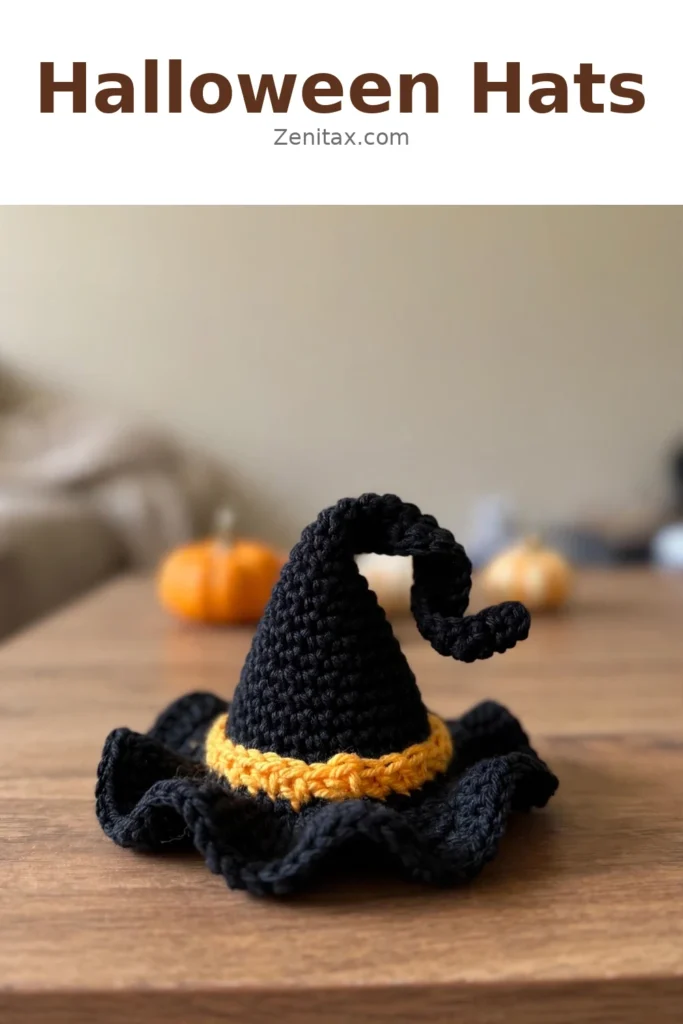
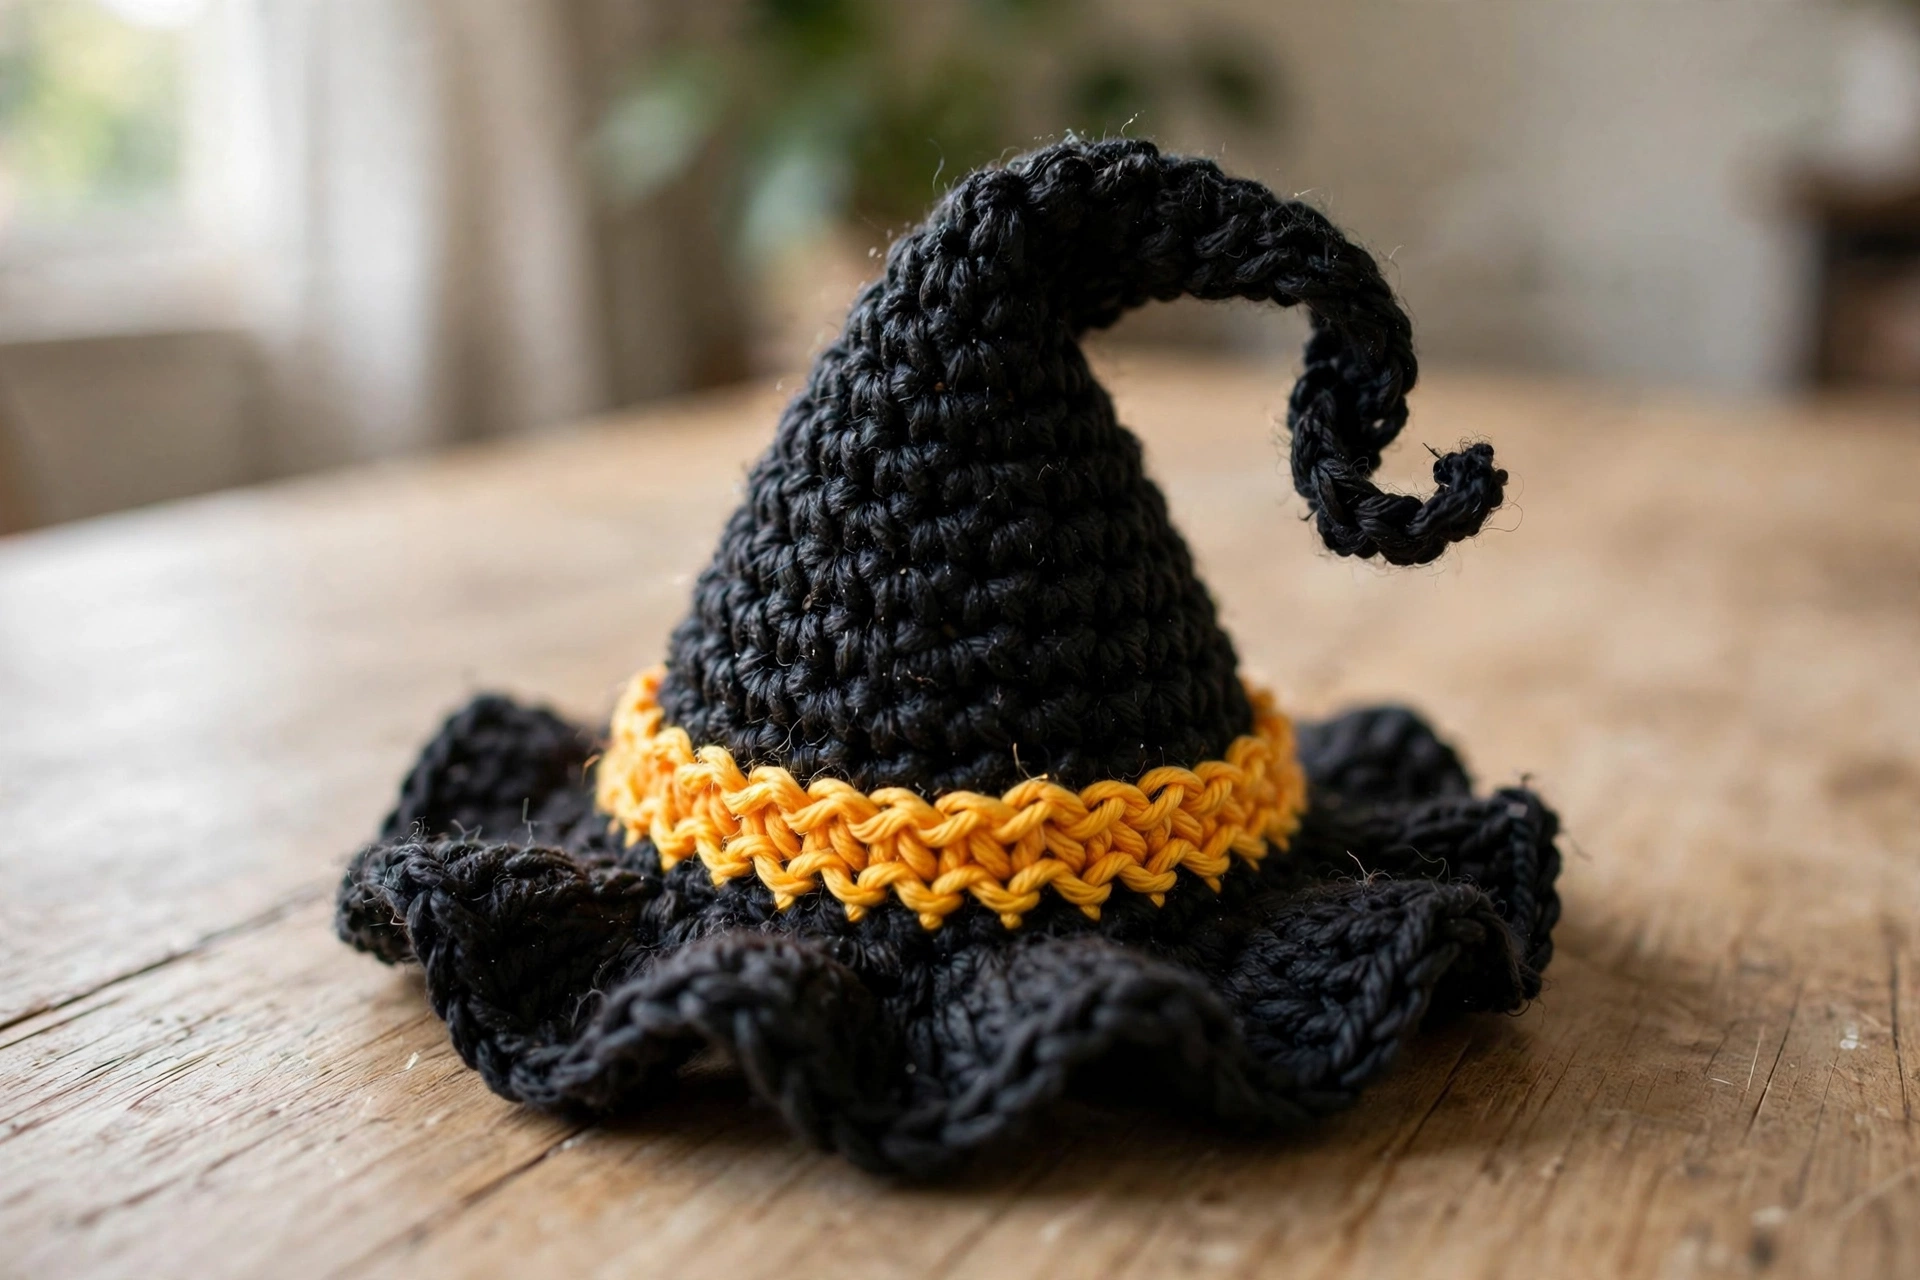
Halloween decor doesn’t have to be big to make an impact. These mini witch hats take almost no yarn, work up in one sitting, and land exactly where they count — perched on your mantel, tied to a treat bag, or lined up along a windowsill. The bent, wonky tip is the whole charm: no two hats flop the same way, and that handmade crookedness reads instantly as spooky-cute instead of perfect.
This is an easy-to-intermediate make. The tip and body are worked in single crochet with a straightforward increase pattern, and the brim introduces double crochet worked in the back loops only — a simple technique shift that is easy to pick up. The whole hat can be finished in one focused session of an hour or two, making it practical even when Halloween has crept up on you.
Materials
- Worsted-weight yarn in your primary color (traditionally black or purple)
- Worsted-weight yarn in a contrasting color for the band (yellow, orange, or lime green all work)
- A crochet hook in the size recommended on your yarn label
- Scissors
- A yarn needle for weaving in ends
Color Pairing Ideas
The color pairing is where this hat gets its personality. Classic black with an orange band reads as Halloween shorthand. Purple and yellow feel more whimsical and storybook. Forest green with gold is unexpected and lovely. For a mini decor hat, add a tiny buckle cut from felt and glued to the band. A small crocheted spider or a loop of ribbon makes a quick finishing touch that photographs well on a wreath or a package.
The Pattern
Foundation
Make a slip knot and chain 17 stitches. Starting in the second chain from the hook, work 15 single crochets across. In the very last chain, work 6 single crochets, then turn your work. Slip stitch into the 6th stitch, flipping the piece to the back side first for a neat join.
Rounds 2–3
Work 6 single crochets in each round with no increases or decreases. At the end of Round 3, slip stitch into the first stitch to close the round.
Round 4
Work 3 sets of: 1 single crochet, then 1 increase. Total stitches at the end of this round: 9.
Round 5
Work 9 single crochets with no increases or decreases.
Round 6
Work 3 sets of: 1 single crochet, 1 increase, 1 single crochet. Total stitches at the end of this round: 12.
Round 7
Work 12 single crochets with no increases or decreases.
Round 8
Work 3 sets of: 3 single crochets, then 1 increase. Total stitches at the end of this round: 15.
Round 9
Work 15 single crochets with no increases or decreases.
Round 10
Work 3 sets of: 2 single crochets, 1 increase, 2 single crochets. Total stitches at the end of this round: 18.
Round 11
Work 18 single crochets with no increases or decreases.
Round 12
Work 3 sets of: 5 single crochets, then 1 increase. Total stitches at the end of this round: 21.
Round 13
Work 21 single crochets with no increases or decreases.
Round 14
Work 3 sets of: 3 single crochets, 1 increase, 3 single crochets. Total stitches at the end of this round: 24.
Color Band
In the final stitch of Round 14, switch to your contrasting color by pulling it through the last loops of the stitch. Work 24 single crochets in Round 15. Work 24 single crochets in Round 16. At the end of Round 16, switch back to your original color.
Round 17 — Brim Begins
Working in the back loops only, work 24 double crochets with increases evenly spaced across the round. Total stitches at the end of this round: 48.
Round 18 — Brim Continues
Work 24 sets of: 1 double crochet, then 1 increase. Total stitches at the end of this round: 72.
Finishing
Fasten off your yarn, leaving a tail long enough to weave in securely. Use a yarn needle to weave in all loose ends, including the color-change tails at the band.
Tips for a Great Mini Hat
- The slip stitch join at the foundation tip is the one step that trips people up — flip the piece firmly to the back side before you stitch so the join sits on the inside of the hat.
- Want a wearable hat instead of a miniature? Scale up by working with bulkier yarn and a larger hook.
- Keep the brim’s wavy ripple by not stretching it flat — the ruffle is what gives it that classic witch-hat silhouette.
Final Thoughts
These mini hats are the kind of project that multiplies on your hook — you plan to make one and end up with five in different color combos. They are fast, fun, and the perfect last-minute Halloween make. Happy crocheting!