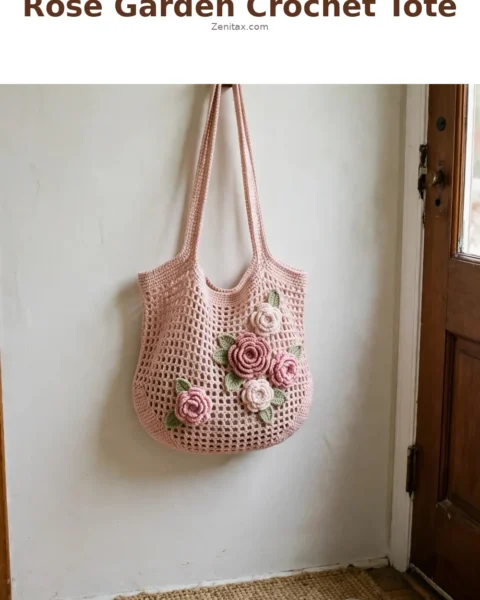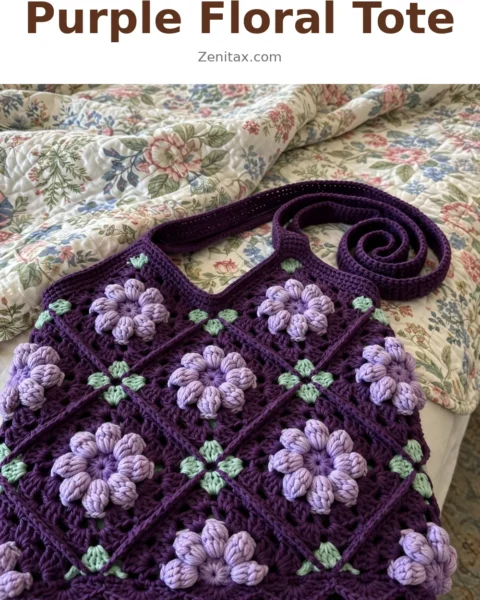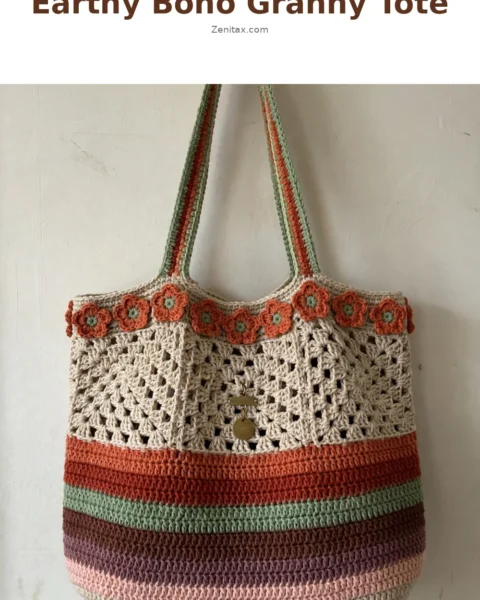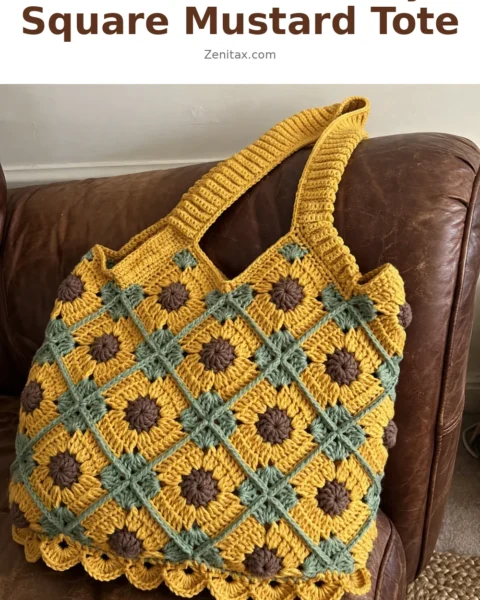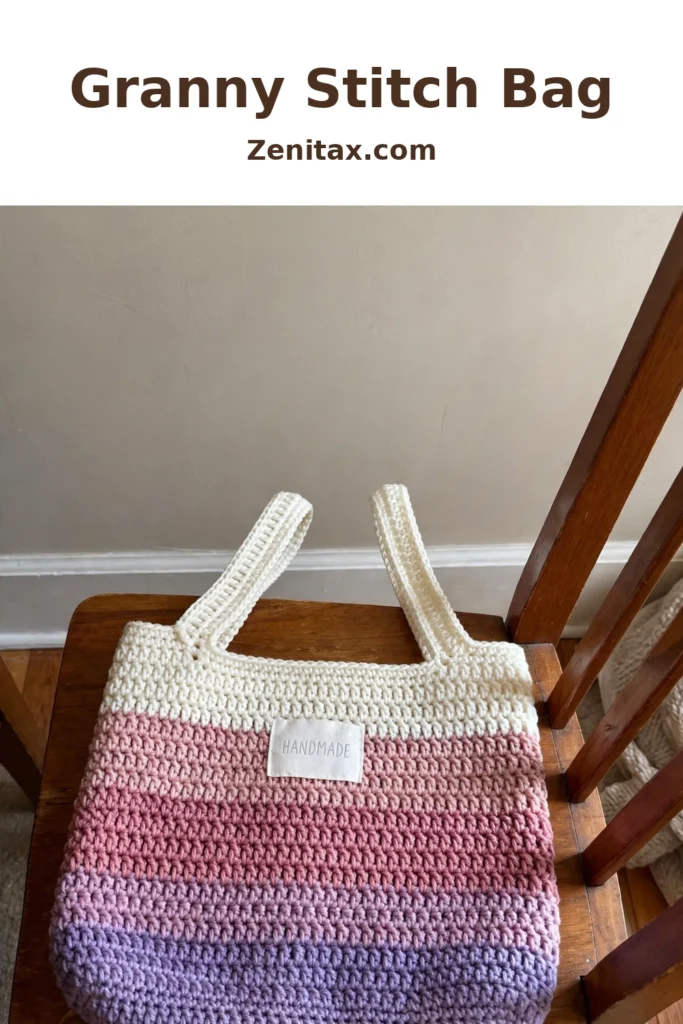
The Granny Stitch Bag
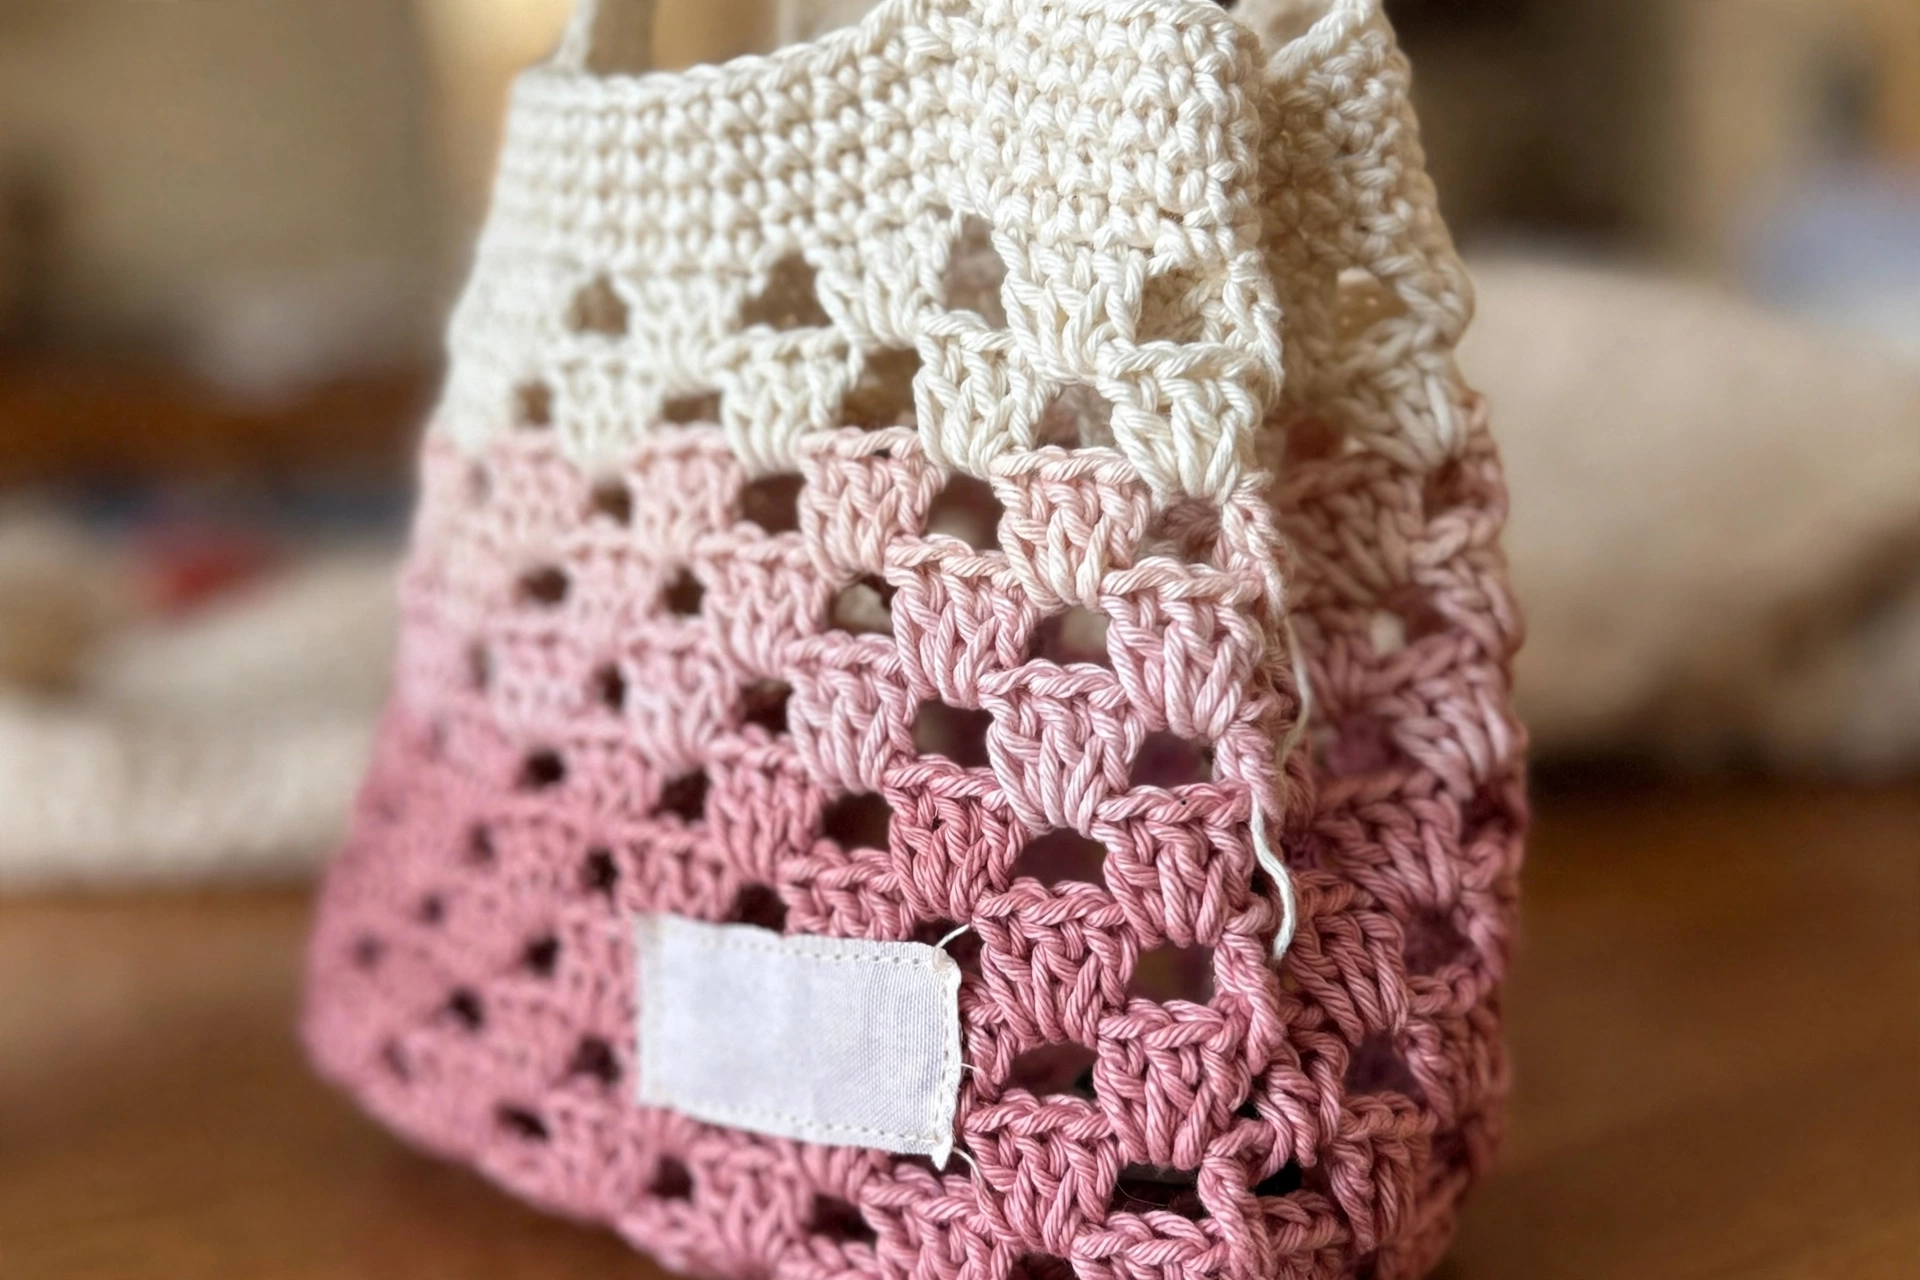
Some bags you make because you need one, and some you make because you just cannot stop looking at them. This Granny Stitch Bag is firmly in the second camp. Those little clusters of double crochet open up into the most gorgeous lacework, and when you run them through a blush-to-lilac gradient — creamy white melting into dusty rose, then soft lavender — the whole thing looks like it was pulled off a shelf at a sunlit boutique. It breathes, it drapes, and it holds its shape all at once. Honestly, people are going to stop you and ask where you bought it.
Materials and Tools
- DK weight cotton yarn in three colors: creamy white, dusty rose, and soft lavender
- 4mm crochet hook
- Yarn needle for weaving in ends
- Optional: a small fabric label for that finished, handmade-with-intention touch
Cotton is the right call here. It holds the shape of each DC cluster beautifully without going limp, and when your bag inevitably becomes your everyday companion, it is easy to wash. The 4mm hook is the sweet spot for this weight — open enough to show off the stitch, tight enough to actually hold your things.
Stitch by Stitch
You only need four stitches for the whole bag, and once you find the rhythm of working 3 DC, CH 2, 3 DC across each repeat, your hands just settle into it. It is the kind of meditative stitching that makes an evening fly by.
- CH (Chain): the foundation of the bag and the bridge between granny clusters — your starting point and connector throughout.
- SC (Single Crochet): worked at the base and along the handle edges to give a firm, clean structure that anchors the looser lacework.
- DC (Double Crochet): the workhorse of the granny stitch, worked in clusters of three to form those signature little shells.
- SS (Slip Stitch): used to join rounds and shift the yarn into position without adding height, keeping transitions invisible and tidy.
Construction
The body is worked flat in rows to build the main panel, then seamed along the sides into a pouch shape — an approachable construction for anyone who has a few small projects under their belt. The handle is worked separately and attached at the top, positioned for a comfortable, balanced carry. And here is the best part: if you want a deeper bag, simply add more rows to the body before seaming. Easiest customization in the world.
Wearing Your Granny Stitch Bag
Tuck in a paperback, your sunglasses, and a small wallet and carry this to a weekend farmers market or a slow walk where the light hits all those little DC clusters just right. It works as a top-handle tote for light daily use, or looped over one shoulder for that effortless, relaxed silhouette. Every time you reach for it, you will get that particular little thrill of wearing something your own hands made.
Keeping Your Granny Stitch Bag Fresh and Shapely
Because the bag is worked in cotton, it responds beautifully to a gentle hand wash in cool water with a mild soap — it comes out looking crisp and refreshed. Lay it flat to dry rather than hanging it, since hanging can pull the granny clusters out of shape before the cotton sets. If it ever loses a little structure, a light misting and a gentle reshaping with your hands while it is still damp brings it right back. Store it stuffed with a small cloth or tissue paper so it holds its rounded shape between uses.
Final Thoughts
You made this, start to finish, with nothing but yarn, a 4mm hook, and your own patience — and that is absolutely something worth wearing proudly. Save this pattern to your crochet board, stitch up your own colorway, and share your finished Granny Stitch Bag so the handmade community can see your beautiful work.