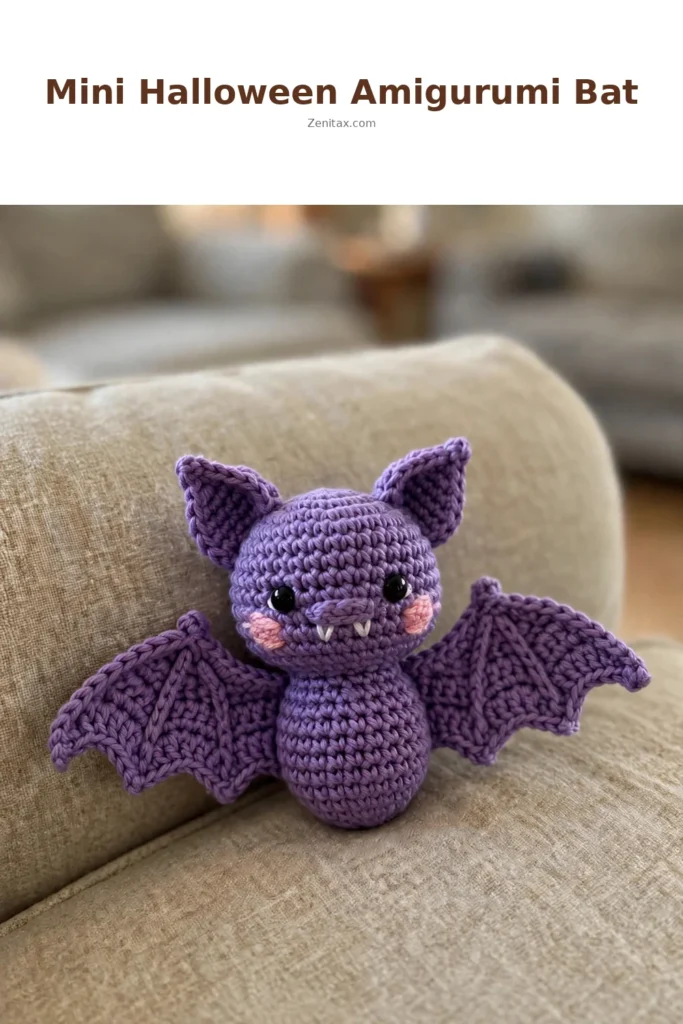
Scalloped wing edges are what make a small crochet bat amigurumi read as a bat rather than a black ball with ears. Both wings sew flat to the back, so the body itself is nothing more than a sphere with shaped ears.
The wings are the only real work on this pattern, since a bat body is just a small sphere with ears. Each wing works flat as a scalloped triangle with the points along the outer edge, then sews to the back of the body. Black throughout with the ears shaped in as you go. Cut a paper template for the first wing and match the second to it, because freehand scalloping never comes out symmetrical.
Crochet Halloween Bat Amigurumi
Picture a small purple bat sitting on top of a wrapped candy bowl on the 31st, grinning at every child who reaches in. That is exactly where this little amigurumi ended up the first time I made one, and it stayed out on the shelf long past November because nobody could bring themselves to put it away. It takes under two hours, uses almost nothing in the way of yarn, and the finished bat is small enough to hang from a garland, tuck into a gift bag, or sit on a desk year-round without looking out of place. It is one of those patterns that earns its place.
Why I love this one: the wings are worked directly into the body rather than made separately and sewn on, which means no floppy attachment points and a much sturdier little creature.
Materials and Tools
- Purple yarn for the body, ears, and wings
- White yarn for the embroidered teeth
- Black yarn for the embroidered mouth
- Pink yarn for the blush details
- Crochet hook to suit your yarn weight
- Yarn needle for embroidery and weaving in ends
- Scissors
- Safety eyes or black yarn for the eyes
Customization Ideas
Purple is the classic choice, but this bat works just as well in black with a pop of orange for Halloween, or in grey with pale yellow for a more muted, year-round version. Midnight blue reads more like a real bat and less like a cartoon one, which suits some makers better. Swap the embroidered mouth for a small felt piece cut to shape and glued on if you want sharper contrast. Add a tiny crocheted pumpkin or a loop of black ribbon at the crown and it doubles as a tree ornament or a bag charm. Safety eyes in red give it a delightfully dramatic expression.
The Pattern
Body, Purple Yarn
Round 1
- Make a slip knot with purple yarn.
- Chain 5.
- Working from the second chain from the hook, make 3 single crochets along the chain.
- In the last chain, make 3 single crochets all into the same stitch.
- Turn and work back along the other side of the foundation chain: make 2 single crochets, then work an increase in the last stitch. [10 stitches]
Round 2
- Work an increase in the first stitch, then 1 single crochet in the next stitch.
- Repeat this pattern 4 more times to complete the round.
Rounds 3 to 7
- Work 1 single crochet in every stitch around for each of these 5 rounds.
Round 8
- Work a decrease in the first stitch, then 1 single crochet in the next stitch.
- Repeat this pattern 4 more times to complete the body shape.
Ears, Make 2
Left Ear
- Take a strand of purple yarn, insert the hook into the body at Round 2, and pull the yarn through.
- Chain 2.
- Work 1 half double crochet into the first chain.
- Slip stitch down to Round 1 to finish the ear.
- Cut the yarn and weave in the ends.
Right Ear
- Repeat all of the left ear steps on the opposite side of the head.
Wings, Make 2
Left Wing
- Take a strand of purple yarn, insert the hook into the body at Round 7, and pull it through.
- Chain 1.
- Insert the hook into Round 6 and work 1 single crochet.
- Insert the hook into Round 5 and work 1 single crochet.
- Insert the hook into Round 4 and work 1 single crochet.
- Chain 1 and turn.
Left Wing, Row 2
- Work an increase in the first stitch, then 2 single crochets.
- Chain 1 and turn.
For Left Wing, Row 3
- Work 2 slip stitches.
- Chain 1.
- Work 1 single crochet into the second slip stitch just made.
- Work 1 single crochet in the next stitch.
- Work an increase in the final stitch.
- Chain 1 and turn.
Left Wing, Row 4
- Work an increase in the first stitch, then 1 single crochet in the next stitch.
- Fasten off.
Right Wing
- Turn the bat and repeat all steps from the left wing to create the right wing.
Embroidery and Details
Teeth
- Use white yarn to embroider small fangs at Round 4.
Mouth
- Use black yarn to stitch the mouth between Rounds 3 and 4.
Blush
- Use pink yarn to add small blush details near the eyes.
Tips and Troubleshooting
The oval foundation chain in Round 1 is the trickiest moment in the whole pattern. Work slowly around the curve at each end and count as you go. It is easy to miss or double up a stitch on the turn, and the oval needs to sit flat before you begin building the body walls upward. If it cups or twists, the issue almost certainly happened in those first two ends of the foundation. Pin or mark your first stitch at the very start of every round. The body is worked in a continuous spiral without joins, and the beginning point drifts if you are not tracking it.
Leave a long tail when you fasten off the wings and use it to tack down any curling edges after the wing is complete. A single small stitch at the tip of each wing, pulled gently inward, encourages the wing to hold a slight upswept curve that looks much more bat-like than a completely flat wing. On the ears, the slip stitch back down to Round 1 is what gives the ear its pointed shape, so pull it firmly rather than leaving it loose.
Frequently Asked Questions
Do I need to stuff the body? The pattern does not call for stuffing, and the small size means it holds its shape reasonably well without it. A pinch of fibrefill pushed in before the last decrease round will give it a slightly rounder, more three-dimensional look if you prefer that.
Can I use black yarn instead of purple? Yes, and it looks great. Black with white teeth and red eyes is the most dramatic colourway. The only practical note is that black yarn is harder to see while you are working, so use a well-lit space or switch to a dark charcoal grey if the counting becomes difficult.
The wings look uneven. What went wrong? Wing evenness depends on inserting the hook into the same numbered rounds on both sides of the body. Count the rounds carefully before you start each wing and make sure you are anchoring into the mirror-image position on the second side. Working the second wing immediately after the first, while your hands still remember the tension, also helps.
Can this be made with fingering weight yarn for a smaller bat? Yes. Drop down to a 1.5 or 2 mm hook and the finished bat will come out at roughly half the size, which is charming on a garland or as a keychain charm. The embroidery details need a steadier hand at that scale, but the construction is exactly the same.
Final Thoughts
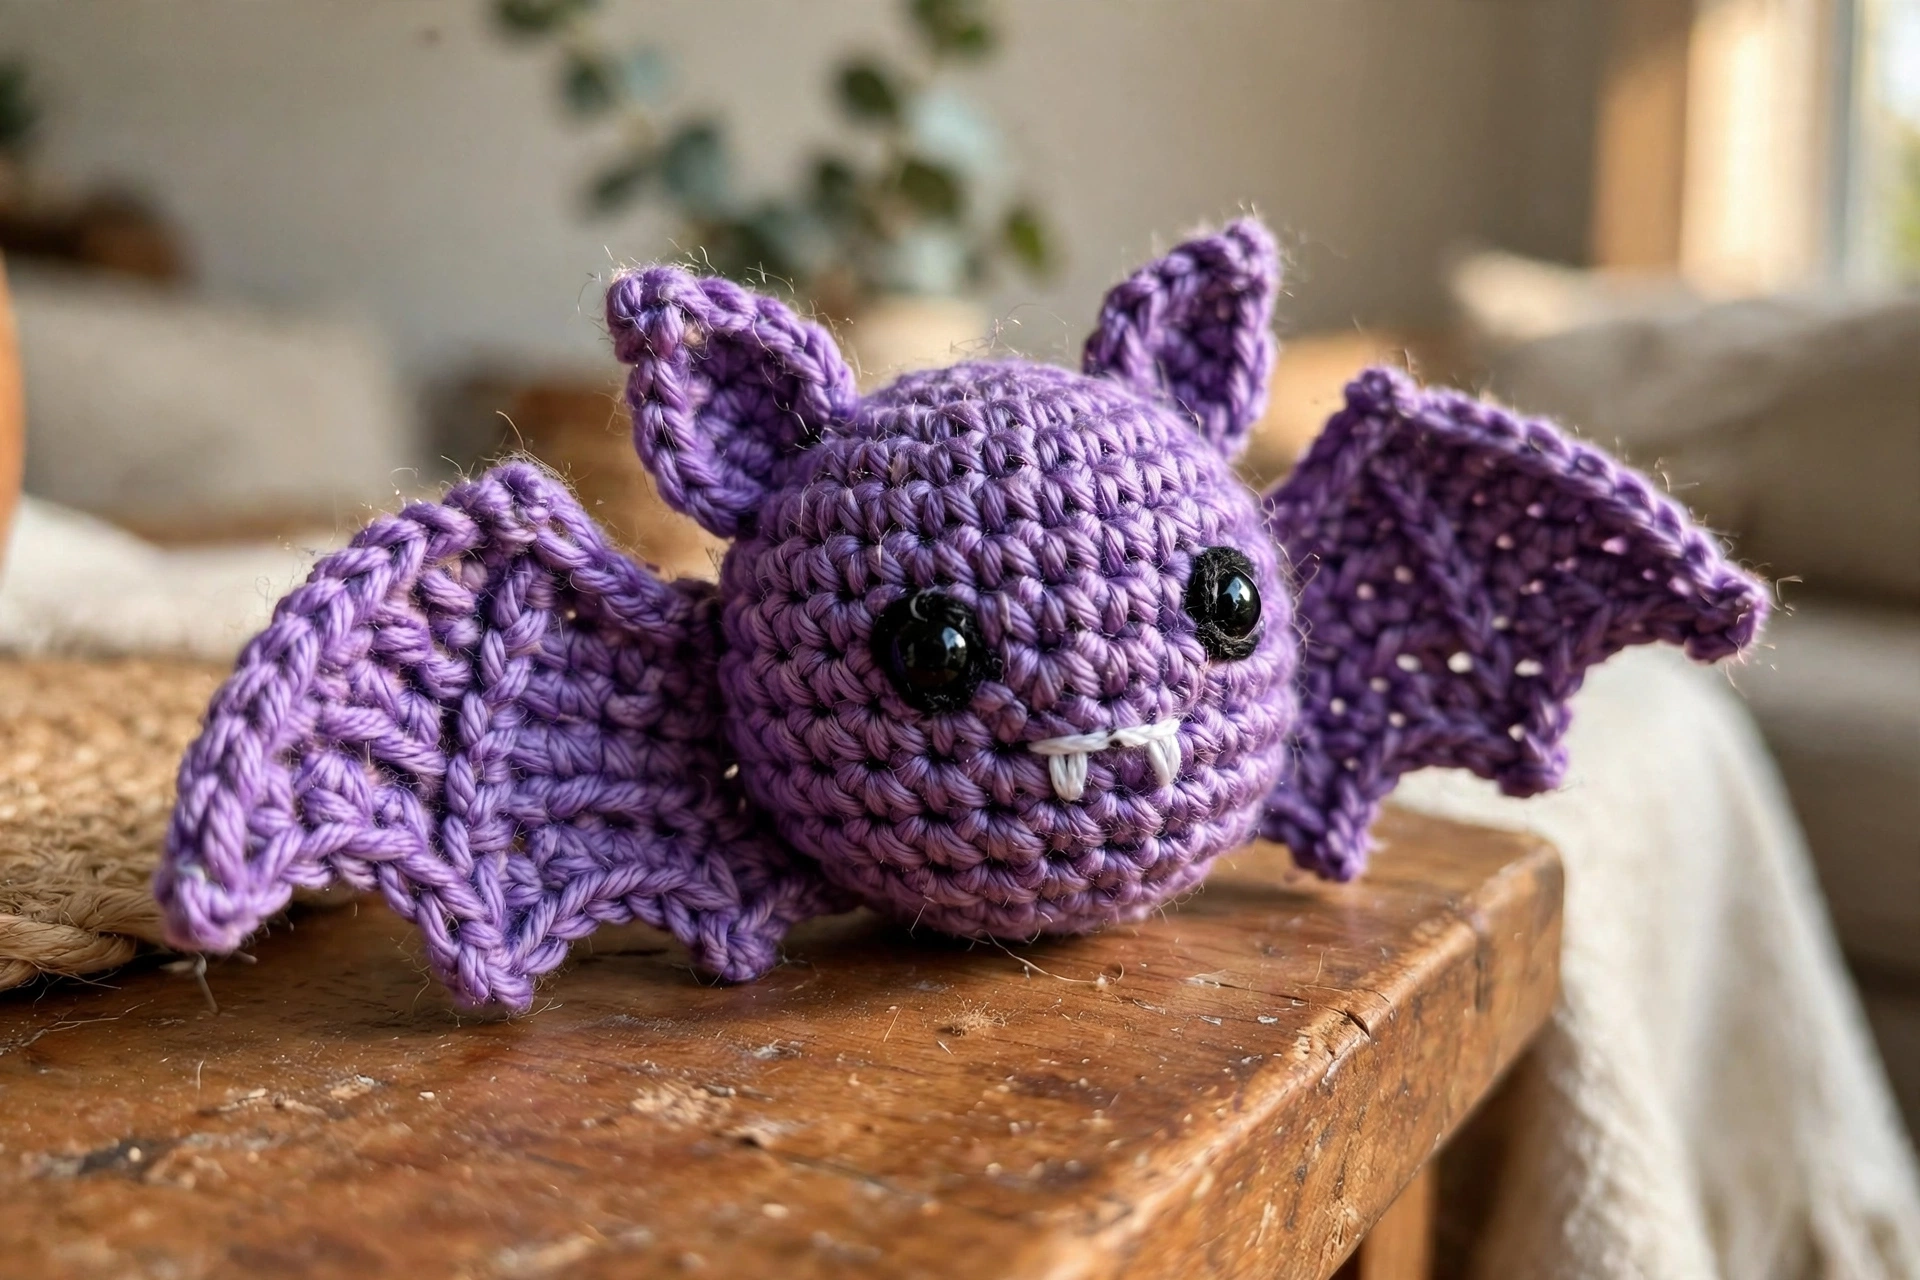
This little bat is proof that the cutest Halloween makes are also the simplest ones. Save this pattern to your Pinterest boards so you can find it when October rolls around — and if you make a whole colony of bats in different colorways, I would absolutely love to see them. Share your finished bats in the comments!