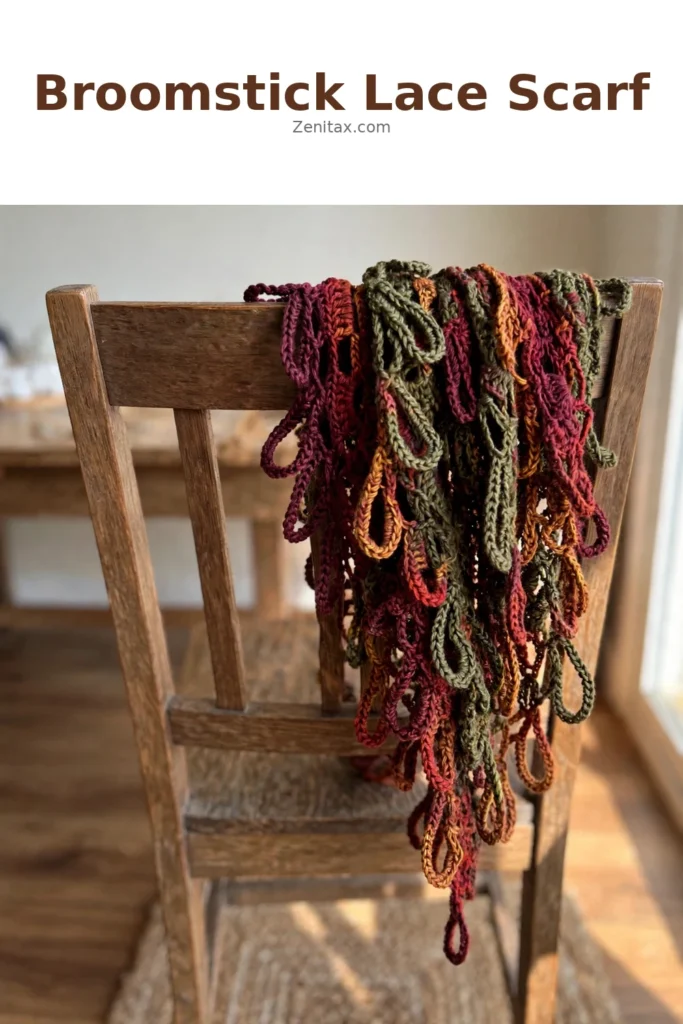
I am so genuinely excited to share this Crochet Broomstick Lace Scarf tutorial with you, because the moment I saw it worked up in those rich autumn tones, I completely fell in love. The way those looped clusters pool and fan across the fabric creates something so airy yet structured that it almost looks woven rather than crocheted.
The Broomstick Lace Scarf
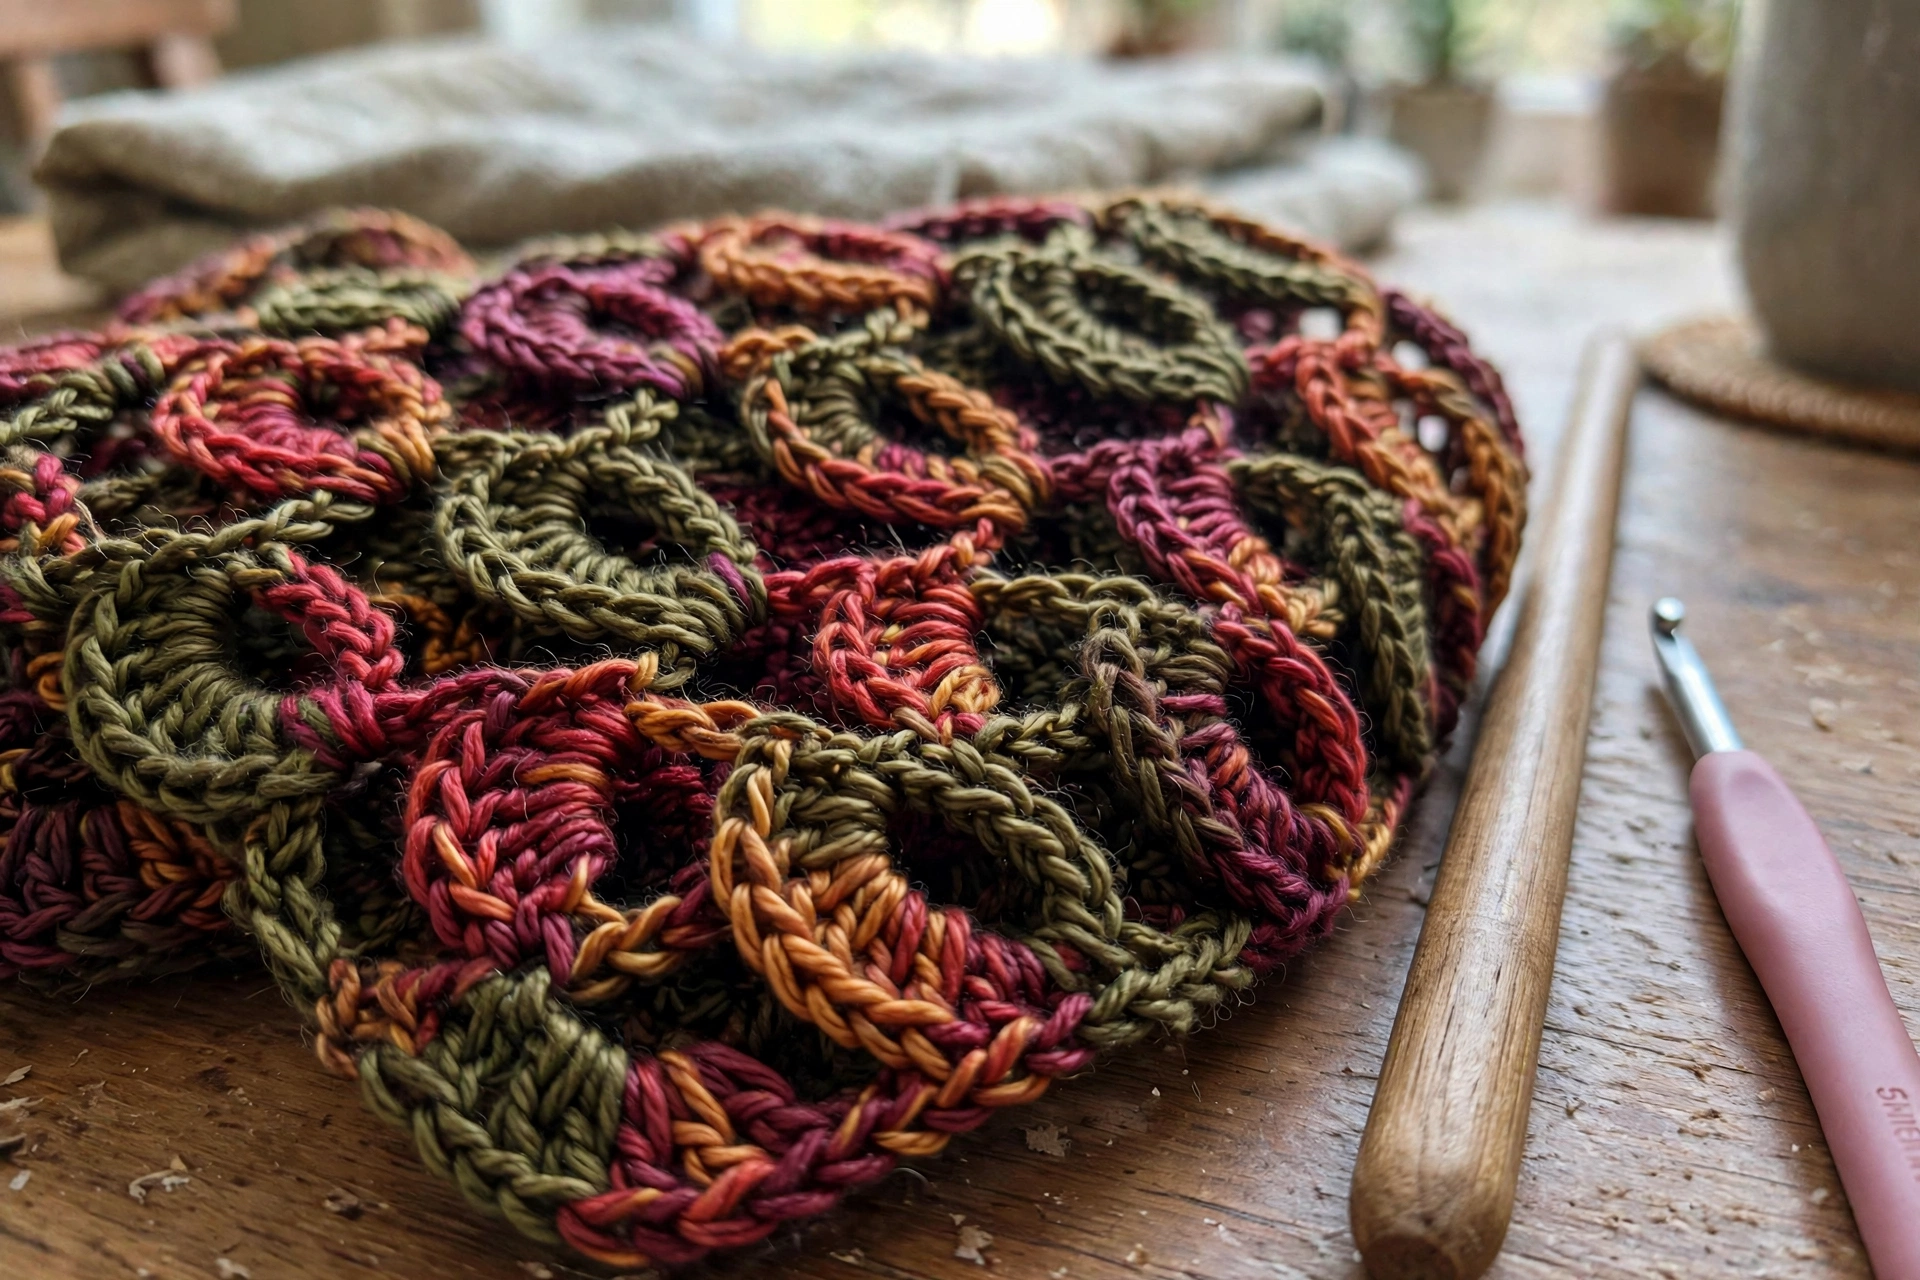
This Crochet Broomstick Lace Scarf carries the kind of quiet beauty that makes people stop and ask where you bought it, and the answer is always so much better than any shop could offer. The lace openwork creates soft, oval-shaped pockets of negative space that catch light as you move, giving the whole piece a whisper of elegance without ever feeling overdressed. It drapes with a loose, fluid generosity that feels luxurious against the skin, like something you reach for on a cool morning without even thinking. This is a piece for anyone who loves handmade things that look deeply considered, whether you are new to broomstick lace or returning to it after years away.
Working this scarf in a variegated yarn is genuinely one of the best decisions you can make, because the color transitions do a great deal of the visual work for you. The reference images show a gorgeous self-striping yarn moving through olive green, deep burgundy, brick red, and warm amber, which gives the finished piece that earthy, autumnal mood that feels so right wrapped over a chunky knit or a linen shirt. Solid yarns work beautifully too, especially in deep jewel tones or soft neutrals if you want something more understated.
Materials and Tools
For this Crochet Broomstick Lace Scarf, you will want a DK weight yarn with a smooth, tightly plied construction so the loops slide easily and the stitch definition stays crisp and clean. A yarn with a wool or wool-blend fiber content is ideal, as it has just enough grip to hold the broomstick loops in place while still blocking out beautifully at the end. Pair your yarn with a 5mm crochet hook, which gives the lace enough openness without letting the fabric go limp or lose its shape. You will also need a large knitting needle or a dedicated broomstick lace pin, usually around 19mm to 25mm in diameter, which is the tool that creates those signature elongated loops that define the entire stitch.
Stitch by Stitch
The Crochet Broomstick Lace Scarf relies on a small, satisfying handful of techniques that build on each other row by row.
- SC (Single Crochet): The foundational stitch used to anchor loops and close each cluster with a neat, firm join.
- YO (Yarn Over): A basic but essential motion repeated throughout the lace process to draw up each extended loop onto the large pin.
- DC (Double Crochet): Used in some variations to add height and airiness within the fan clusters as they are worked off the pin.
- Cluster Group: The grouped loops pulled off the large needle together and worked as one unit, creating the signature oval openings in the lace fabric.
Once you settle into the meditative rhythm of drawing up loops, sliding them onto the pin, and then working them back off in grouped fans, the whole process becomes almost hypnotic in the best possible way.
Construction
The Crochet Broomstick Lace Scarf is worked flat in long horizontal rows, making it one of the most straightforward constructions in lace crochet. You begin by chaining a foundation that determines the width of your scarf, then alternate between loop pickup rows, where you draw each stitch up tall onto your large pin, and cluster rows, where you work those loops back off in grouped fans of SC stitches. The flat panel construction means there are no seams to sew and no shaping to track, which makes this approachable even if broomstick lace is new to you. If you want a wider wrap or a longer scarf, simply adjust your starting chain in multiples of the cluster group size.
Wearing Your Broomstick Lace Scarf
Drape your finished Crochet Broomstick Lace Scarf loosely over the shoulders of a camel coat for an effortlessly layered autumn look, or wrap it twice around your neck for something cozier on a crisp morning walk. It works beautifully tucked into the collar of a denim jacket, where the lace texture adds softness and visual interest without competing with the rest of the outfit. Finishing this scarf feels like completing something genuinely wearable and deeply personal, the kind of accessory that becomes a daily favourite before the yarn is even put away.
Washing and Blocking Your Broomstick Lace Scarf
Blocking is one of the most rewarding steps with any broomstick lace project, because it is the moment those oval clusters open up fully and the whole fabric relaxes into its true shape. Hand wash your finished scarf gently in cool water with a wool-safe soap, then press out the excess water by rolling it in a clean towel rather than wringing. Lay it flat on a foam blocking mat and pin the edges out to your preferred dimensions, coaxing each cluster row into alignment before leaving it to dry completely. Store it folded loosely in a breathable cotton bag, away from direct sunlight, to keep the fiber fresh and the colors vivid for years of wearing.
Final Thoughts
Every loop you pull up and every cluster you work back off the pin is a small act of making something real and lasting with your own hands. Save this post to your Pinterest boards and come back whenever you are ready to pick up your hook and get started.